
As real-time VFX Artists, mesh creation is a big part of our everyday lives. There is a lot of softwares which we can use to create meshes for visual effects but today I will be focusing on Blender. I use Blender in my workflow simply because it is free, open-sourced and lightweight. I love the simplistic approach of the software and the community surrounding it which constantly comes up with new ways to improve the software. Over the years of using Blender for creating real-time VFX I came across add-ons and just tips that I wouldn’t imagine my workflow without them. While the post is focused for real-time VFX artists, these tools are great and will serve any game developer. Whether you are already a seasoned Blender user or perhaps you want to jump softwares, I hope these tips will help you on your journey to become more efficient, faster and honestly, less bothered.
Mio3 UV add-on for easier UV unwrapping
I love that as a real-time VFX Artist we can rebel and stretch the UVs anyway we want. Usually, though, we just want them stretched as a grid over the whole UV coordinates. Mio3 UV add-on will help you with that in a few buttons. It also has many options for aligning and rotating the UVs and just overall a great tool for unwrapping UVs.
To have a quick grid you simply need to navigate to the side bar in the UV window, click Gridify and Normalize. Easy.
Download the Mio3 UV here.
Turning curves to meshes
This technique is very useful when you are creating trails and other sparkly swooshes. As simple as it is, you can just extrude and convert curves into meshes. I use this technique often when I need to match trails to character/weapon movement. I would just simply import the character animation, add a curve, match it to the character movement, “extrude” and convert it to a mesh.
For the curve to have some body you need to go to Data tab, locate Geometry section and play with the Depth settings.
Once you are happy with the width just go to Object > Convert > Mesh to convert the curve into a mesh.
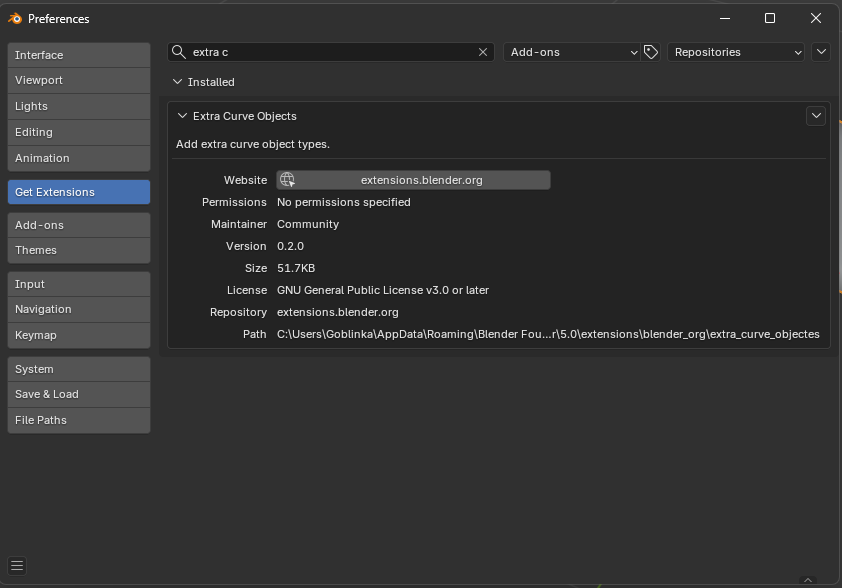
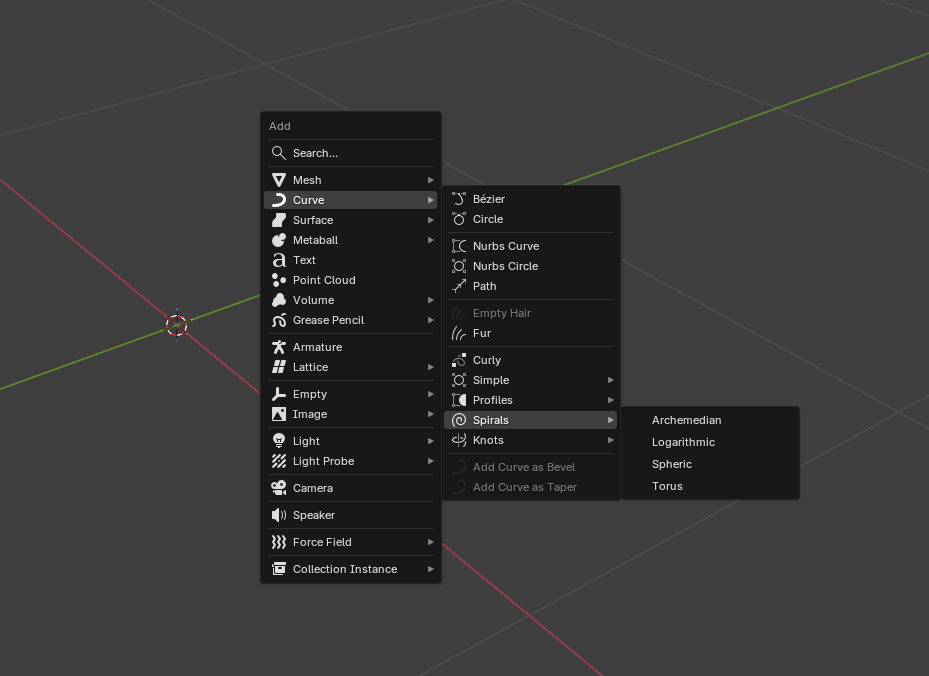
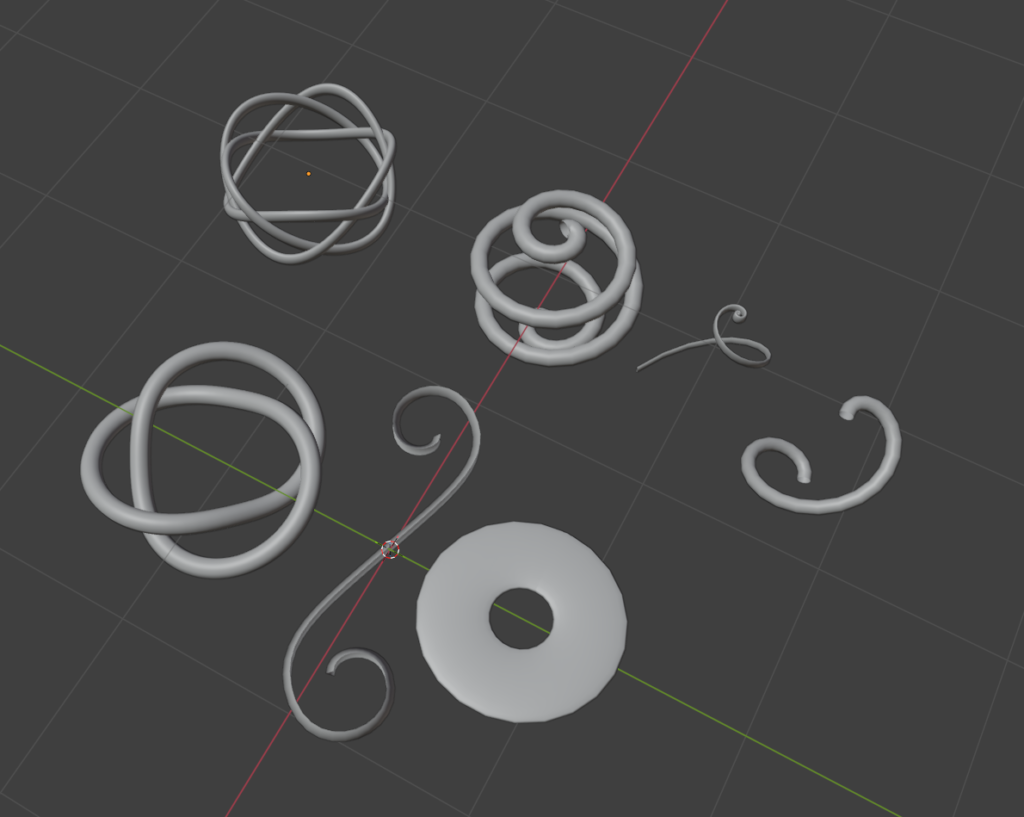
As a bonus, go to the Blender’s extension settings in the Preferences and enable “Extra curve objects”. This will get you access to different kinds of curves, perfect for creating meshes to use for swirly trails.
Optimizing meshes with QRemeshify add-on
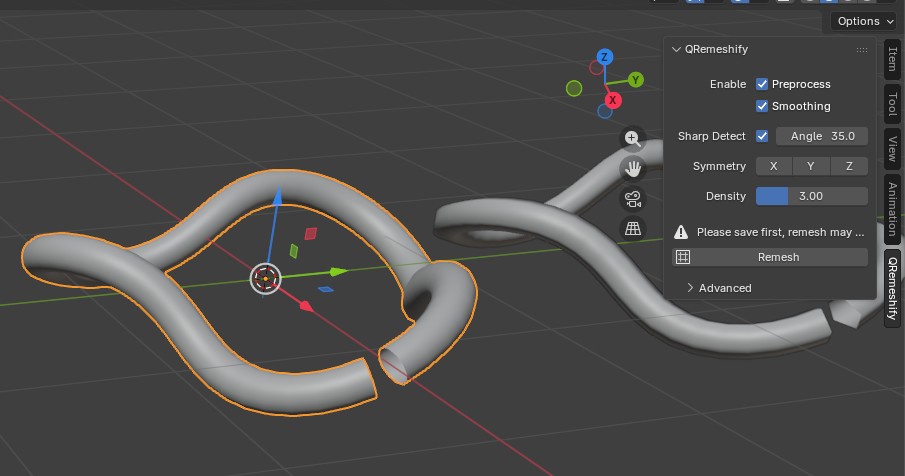
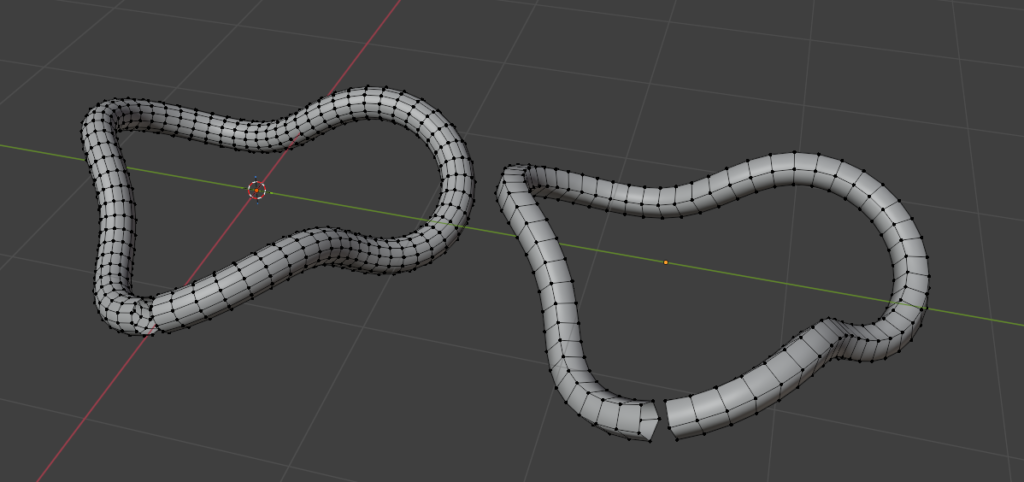
To keep your meshes optimized it is a good idea to have a remesher tool under your belt. One click and all of your topology gets fixed! I recently have been using an add-on QRemeshify by Ksami. It is useful for decimating your meshes and turning it to quads. Even though one of the best remesher tools is made by Exoside and it is called Quad Remesher (you might want to look into it for advanced remeshing), I use QRemeshify simply because it is free and it is enough for my needs. I used to use this tool quite a lot when I was working on Valorant environment VFX, especially for the effect meshes that required me to copy the original mesh of a prop.
To use the add-on simply install it and access it in the N bar when in Object mode.
You can get QRemeshify here.
Using Cell Fracture for creating debris
I would say that flying debris pieces is probably one of the most common mesh effects that we come across. Using the Cell Fracture add-on helps to create debris meshes instantly. Simply download the Cell Fracture extension and install it.
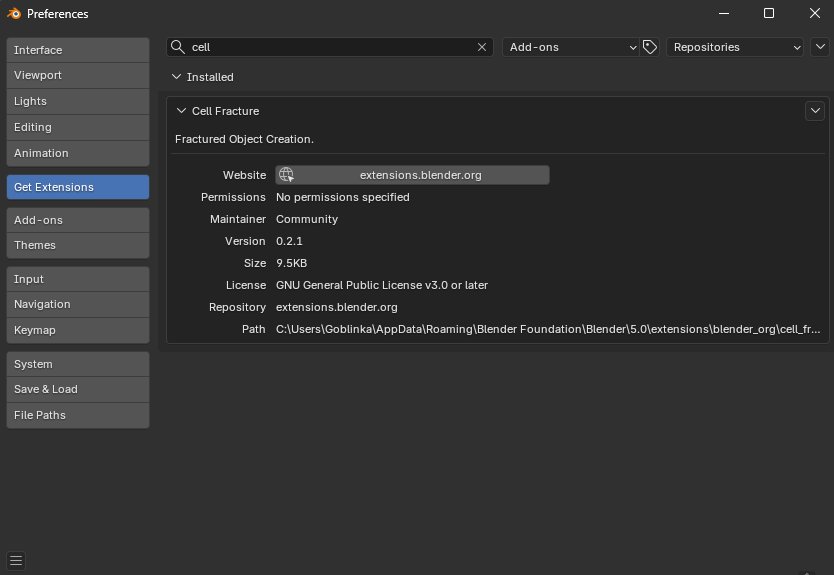
Select any object that you want to fracture in Object mode, go to Object > Quick Effects > Cell Fracture, play around with the settings and will get some nice looking debris ready for export.
Using Fit Curve with Array modifier to create various meshes
Fit Curve is a tool that is an intuitive alternative to Blender’s Curve Deform modifier ensuring that objects align to curves in world space. The default Blender’s Curve Deform modifier oftentimes can be very finicky and yield unexpected results, weird rotations and tricky transformations. While Fit Curve is a paid tool, it is a one time purchase and does not cost that much (15$ at the time I am writing this). I love how it simplifies the mesh creation and opens up opportunities to iterate on the mesh, having the ability to experiment on sizes, twists, rotation and offset while controlling the topology.
Essentially I just create a simple shape of the mesh that can be repeated with an Array modifier, apply it to the curve with the Fit Curve modifiers, play with parameters and I am done! Super fast and easy. The mesh is attached to the curve so you can edit the curve to see the results instantly.
Get Fit Curve here.
All in all, I hope you found some of these tips useful and hopefully they will make your life a little bit easier. As with everything new, it might take a while until you get everything set up and for it to feel natural. I do encourage you to play around with the parameters and explore what works for you and where you could apply these tools. After all, practice makes perfect!
Until next time! ❤️