
I love all things marine and so the time came to learn more about water shaders! I searched and came across this amazing PolyToots tutorial, on which I learned from and built upon to create this water shader scene. What really caught my eye is that it showed how to make and use 3D Textures which I had very little knowledge of.
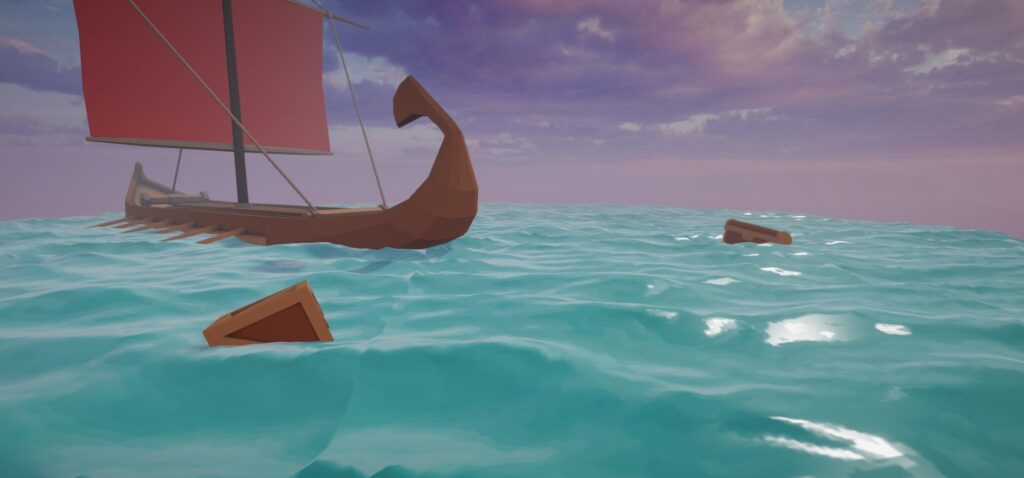
The goal of this project was to learn about 3D textures, and how they are made and have some practice with Amplify shader editor. I also wanted to let out my love for the classical antiquity period, hence the featured trireme galley with the pretty chill male Roman citizen.
I did not create the 3D models, they were bought from the Unity’s Asset Store:
Romans Pack – Low poly;
Low Poly Historical Ships;
AllSky Free – 10 Sky / Skybox Set.
The created scene features two effects: the water shader and the water splash particle system. The created water shader has such features as caustics, refraction, depth fade, edge detection, wave heights with normal & displacement 3D textures.
Software I used to create the scene:
Unity (2020.1.15f1);
Amplify – for shader creation;
Adobe Photoshop – textures and texture touch-up;
EmberGen – splash simulation and animation texture sheet;
Blender – displacement and normal texture creation.
To start, displacement and normal textures were created in Blender using the Ocean modifier, then animated and exported. The exported textures were then packed up into 3D textures In Unity, using Amplify’s Texture Array packing tool. Below you can see the animated ocean displacement texture creation process and the packed version in Unity.


After this, I did shader magic in Amplify. Full shader node image below.

I did a couple of things differently than PolyToots, first of all, I did not need the ‘side fix’ node group as I was putting the water shader on planes, then I did not use the Voronoi node for the foam effect, rather I used a specific noise texture. For caustics, I used two panning caustic textures for a more realistic and dynamic effect. Also, for waves that were higher, I used a simple color picker for more control, rather than adding up the color.
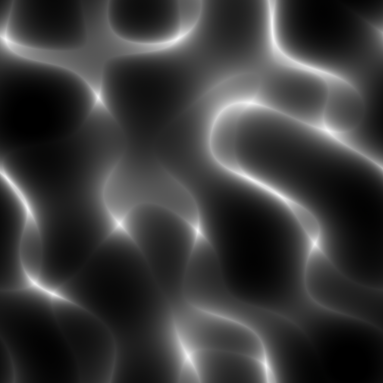


Above you can see the two textures that were used in the water shader: caustics and foam noise. For water splashes I used one of EmberGen’s GPU particle presets, which I modified a bit and exported into an 8×4 animation texture sheet. The animation texture sheet was then animated with the particle system. After everything was set in place I did some post-processing.
Below are some early-stage images of the project.

Overall I had lots of fun while making this project and now I can say my water thirst is satisfied (at least for a while). I learned how to create 3D textures, practiced my skills with Blender, learned how to create normal and displacement textures with Blender, and had some practice with Amplify and EmberGen. Got a better understanding of how water shaders are created in general.